
CubicでLinux Liveをカスタマイズ(2)
 fake-eng
chroot環境でも以下コマンドで最新にしておきます。
apt-get update
apt-get -y upgrade
その後とりあえず、このまま下記画面まで「Next」で進めていきます。
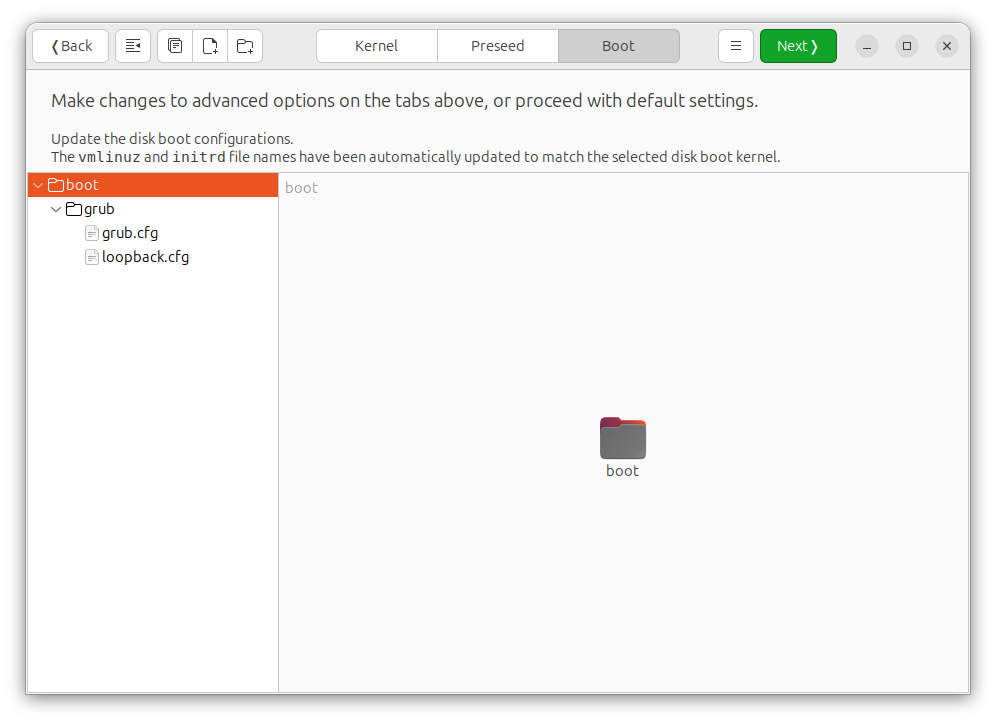
このままだと、インストールの言語選択画面が出てきてしまうので左側ペインのgrub.cfgを選択し、中身を書き換えます。書き換えるところはlinuxで始まる行ですが、全文を掲載しておきます。
set timeout=1

loadfont unicode

set menu_color_normal=white/black
set menu_color_highlight=black/light-gray

menuentry "Server" {
	set gfxpayload=keep
	linux	/casper/vmlinuz  nomodeset init=/bin/bash
	initrd	/casper/initrd.gz
}
menuentry "Server with the HWE kernel" {
	set gfxpayload=keep
	linux	/casper/vmlinuz  nomodeset init=/bin/bash
	initrd	/casper/initrd.gz
}
grub_platform
if [ "$grub_platform" = "efi" ]; then
menuentry 'Boot from next volume' {
	exit 1
}
menuentry 'UEFI Firmware Settings' {
	fwsetup
}
else
menuentry 'Test memory' {
	linux16 /boot/memtest86+.bin
}
fi
同様に、loopback.cfgも下記のように変更しておきます。
menuentry "Server" {
	set gfxpayload=keep
	linux	/casper/vmlinuz  iso-scan/filename=${iso_path} init=/bin/bash
	initrd	/casper/initrd.gz
}
menuentry "Server with the HWE kernel" {
	set gfxpayload=keep
	linux	/casper/vmlinuz  iso-scan/filename=${iso_path} init=/bin/bash
	initrd	/casper/initrd.gz
}
変更したら「Next」、下記画面で「Generate」でISOを作成します。
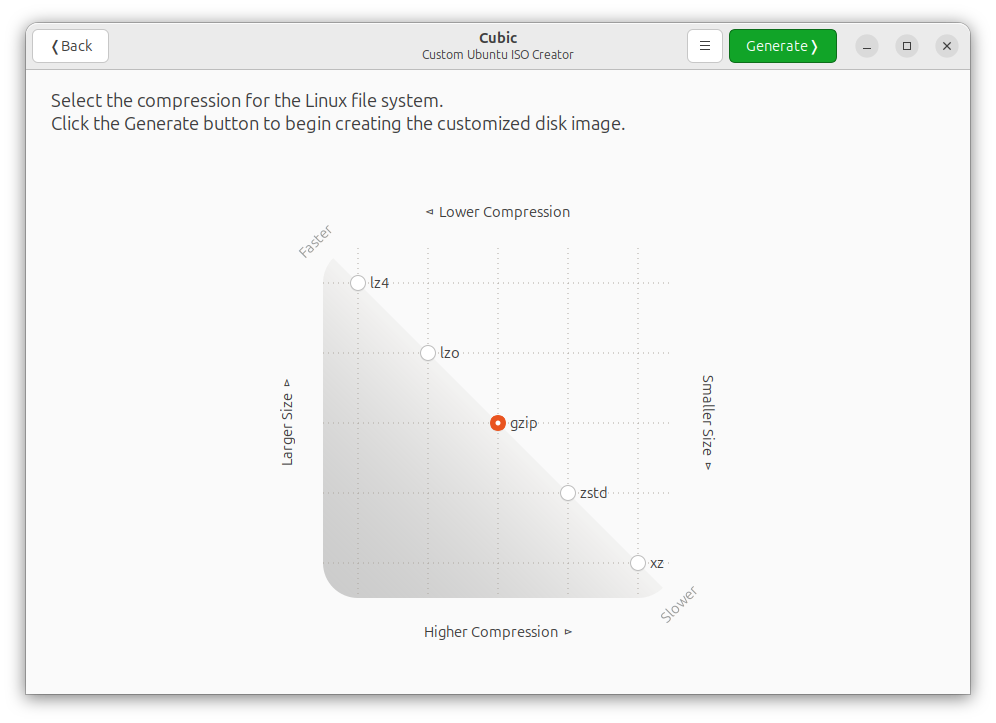
しばらく待つとISOが生成されます。TESTは上部「TEST」ボタンを押すと別ウィンドウが開いて仮想OSのような感じで確認ができます。
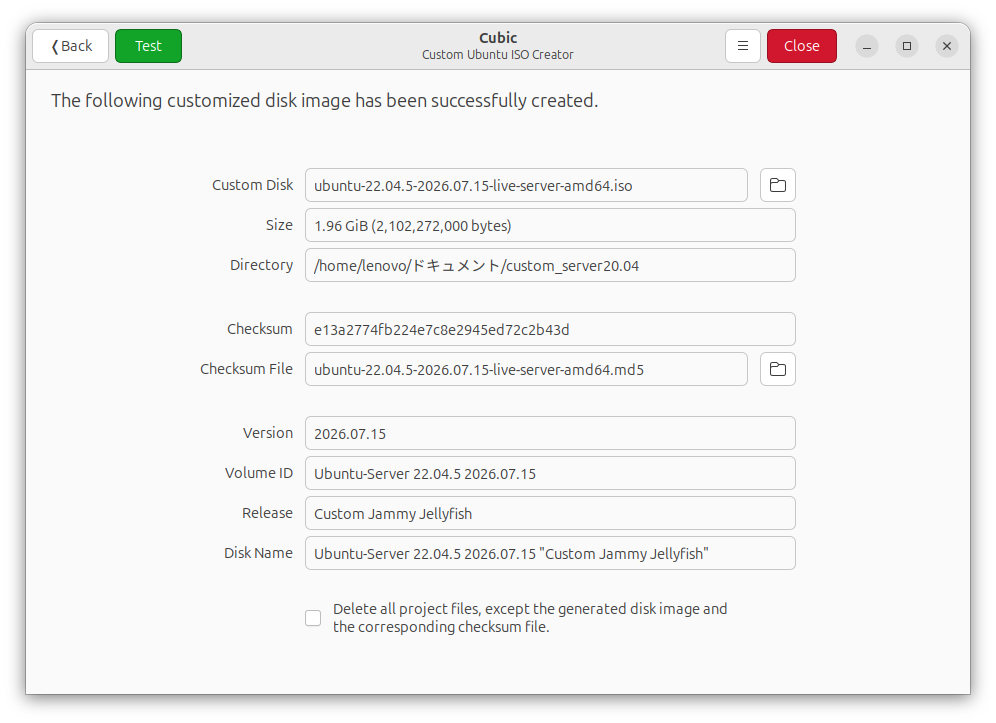
QEMUというウィンドウ内でTESTできる。
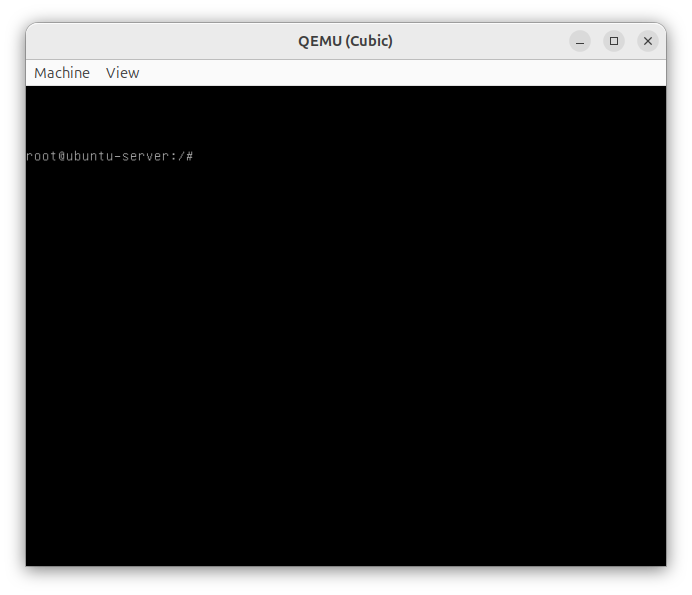
今、systemdをバイパスしてログインしていますのでshutdown/init等の遮断するコマンドが効きません。そのため、システム遮断は
systemctl poweroff -ffで実行します。
このカスタマイズISOの難点は、systemdをバイパスしていますのでOSの機能がかなりの部分で削られているところ。レスキュー用くらいの感覚でしか使えません。